Monitoring home networks with NEMS Part 1: Installation and Configuration
Recently I wanted to learn a little bit more about network monitoring tools. I wanted to set up something simple that could monitor a handful of Linux servers that I run at home. I have a Raspberry Pi 2 running Pi-Hole network ad blocking, a Raspberry Pi 4 running as a NAS, and an older headless desktop machine with a couple GPUs mining Ethereum (mostly for fun, not profit). The Raspberry Pis are extremely reliable and never go down but I wanted to set up basic monitoring for them for learning purposes. The Ethereum miner occasionally gets knocked offline, so I wanted to monitor it and get notifications when the mining process died so that I could ssh in and restart it.
After some research, I decided to try NEMS. NEMS is the Nagios Enterprise Monitoring Server for Single Board Computers. I chose this in part because I can install it on yet another Raspberry Pi. Because I was unable to find a comprehensive tutorial for this online, I had to use NEMS currently spotty documentation and do quite a bit of googling (actually duck-duck-going) to troubleshoot some issues and get up to speed. I’ll go over the steps I took to get NEMS installed and set up and monitoring my servers and hopefully this will be of use to anyone who would like to do the same.
NEMS Installation and Setup
First, we need to obtain the NEMS image for Raspberry Pi. I’m using a Pi 3 Model B+ but any Pi 3 or Pi 4 will do. The download is here. The current build as of this writing is 1.5.2. Once downloaded, extract the img file and then write it to a 32 Gb or larger micro-SD card using your favorite tool (I prefer Balena Etcher but a real beard may prefer dd).

When done writing, put the card into your Pi, connect to Ethernet and fire it up. At this point you can use the official installation instructions here, but I’ll also take you through all the necessary steps. When it boots, give it a few minutes for the filesystem to be resized, then locate the Pi’s IP address and ssh into it from another machine. The default username and password are both “nemsadmin”.
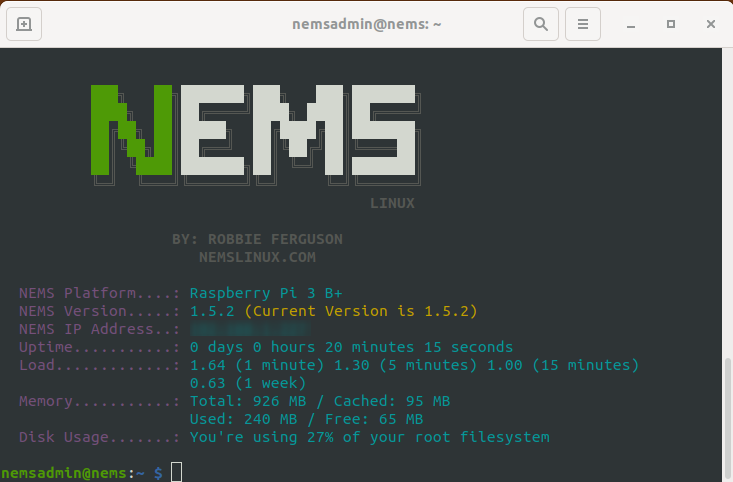
Upon successful login you should be greeted with the prompt:
At the ssh prompt, enter:
sudo nems-init
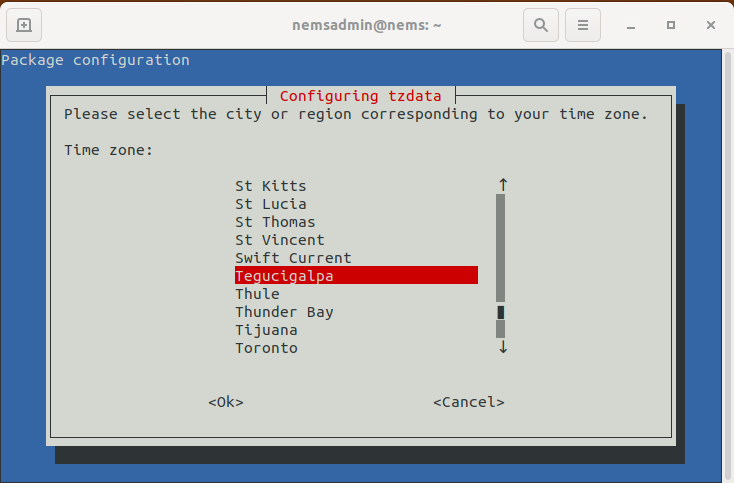
This will take you through some configuration options regarding your time zone and locale. Obviously choose as appropriate.


When that is done, you’ll be asked to set up a username and password to replace the default ones. It will then go through the process of generating new ssl and ssh keys, which may take a few minutes. You will then be presented with something like this.
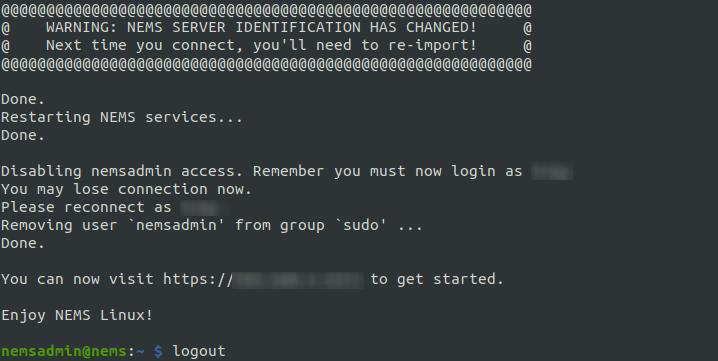
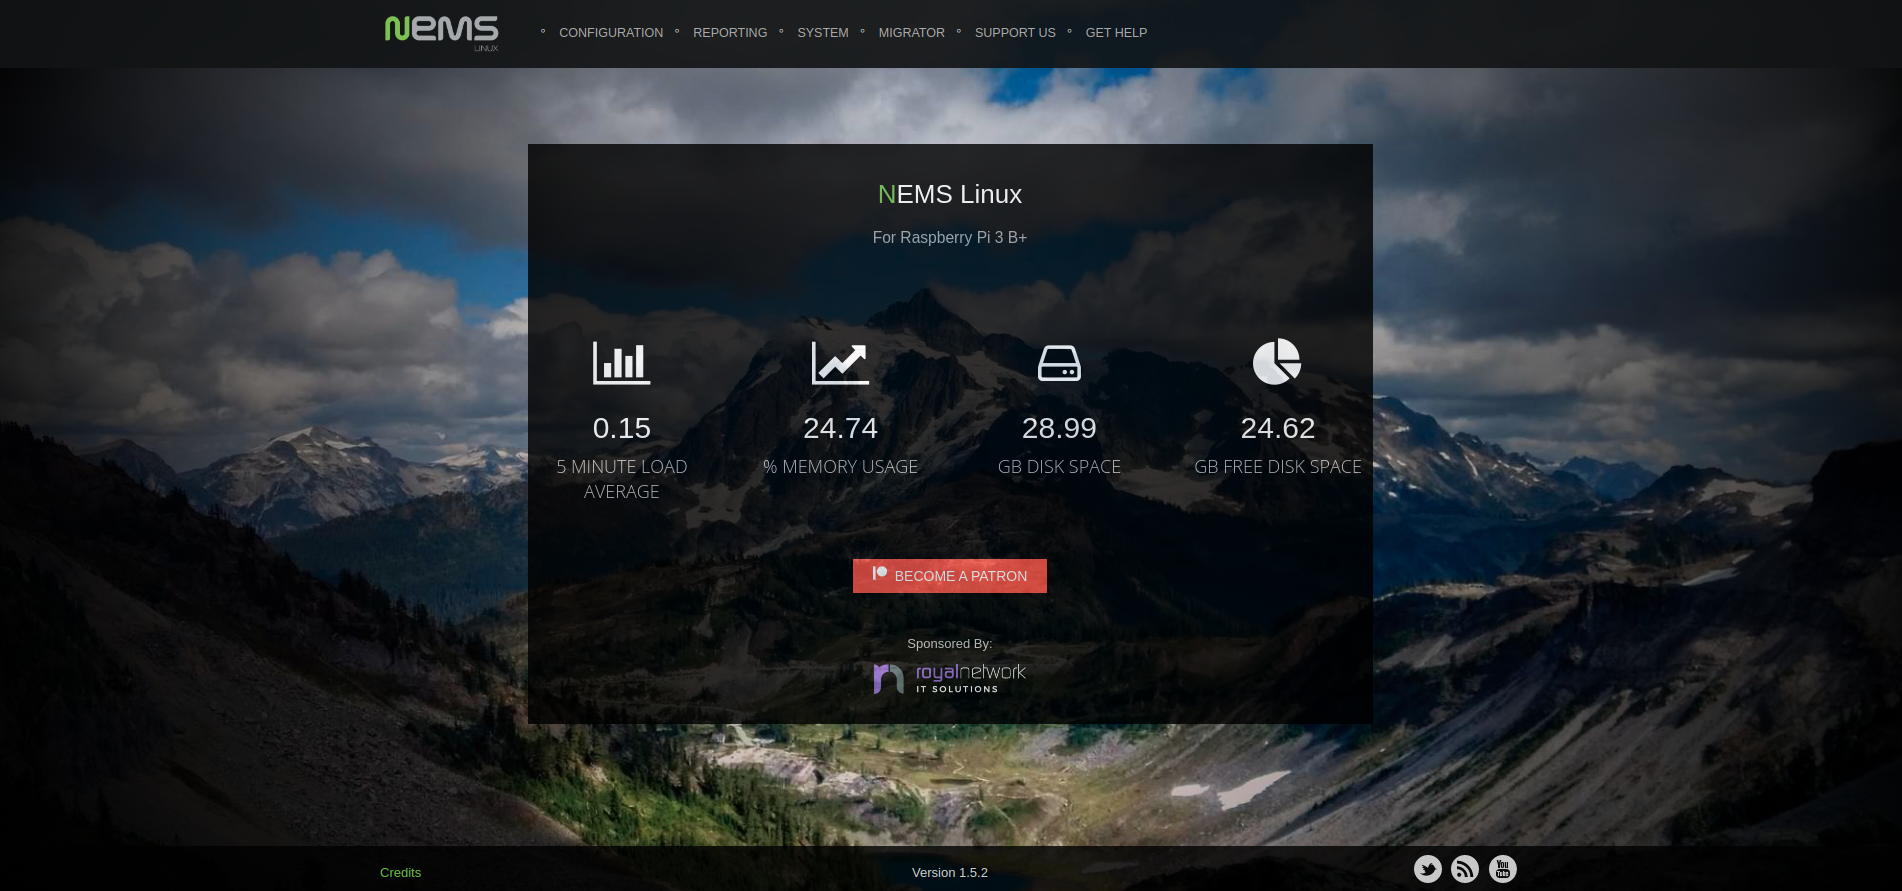
Go ahead and log out of your ssh session as we won’t need it anymore. Now you can access the NEMS dashboard via your web browser by going to http://nems.local/. You’ll be prompted for your new username and password. If everything has been succesful so far, you should see something like this:
Configuring NEMS to monitor your servers
NEMS is running and ready to go. Next we need to tell NEMS what we want to monitor. All of the configuration of NEMS can be done using the NConf utility. Go to the “configuration” tab and from the drop down menu select “NEMS Configurator (NConf)”, which will bring you to the following page:

You use this utility to tell NEMS what servers or hosts that you want it to monitor. Add a host by clicking on the “Add” link that corresponds to “Hosts” from the menu on the left of the screen. Here I show the process of adding my mining server, but adjust the options that best fit your needs.
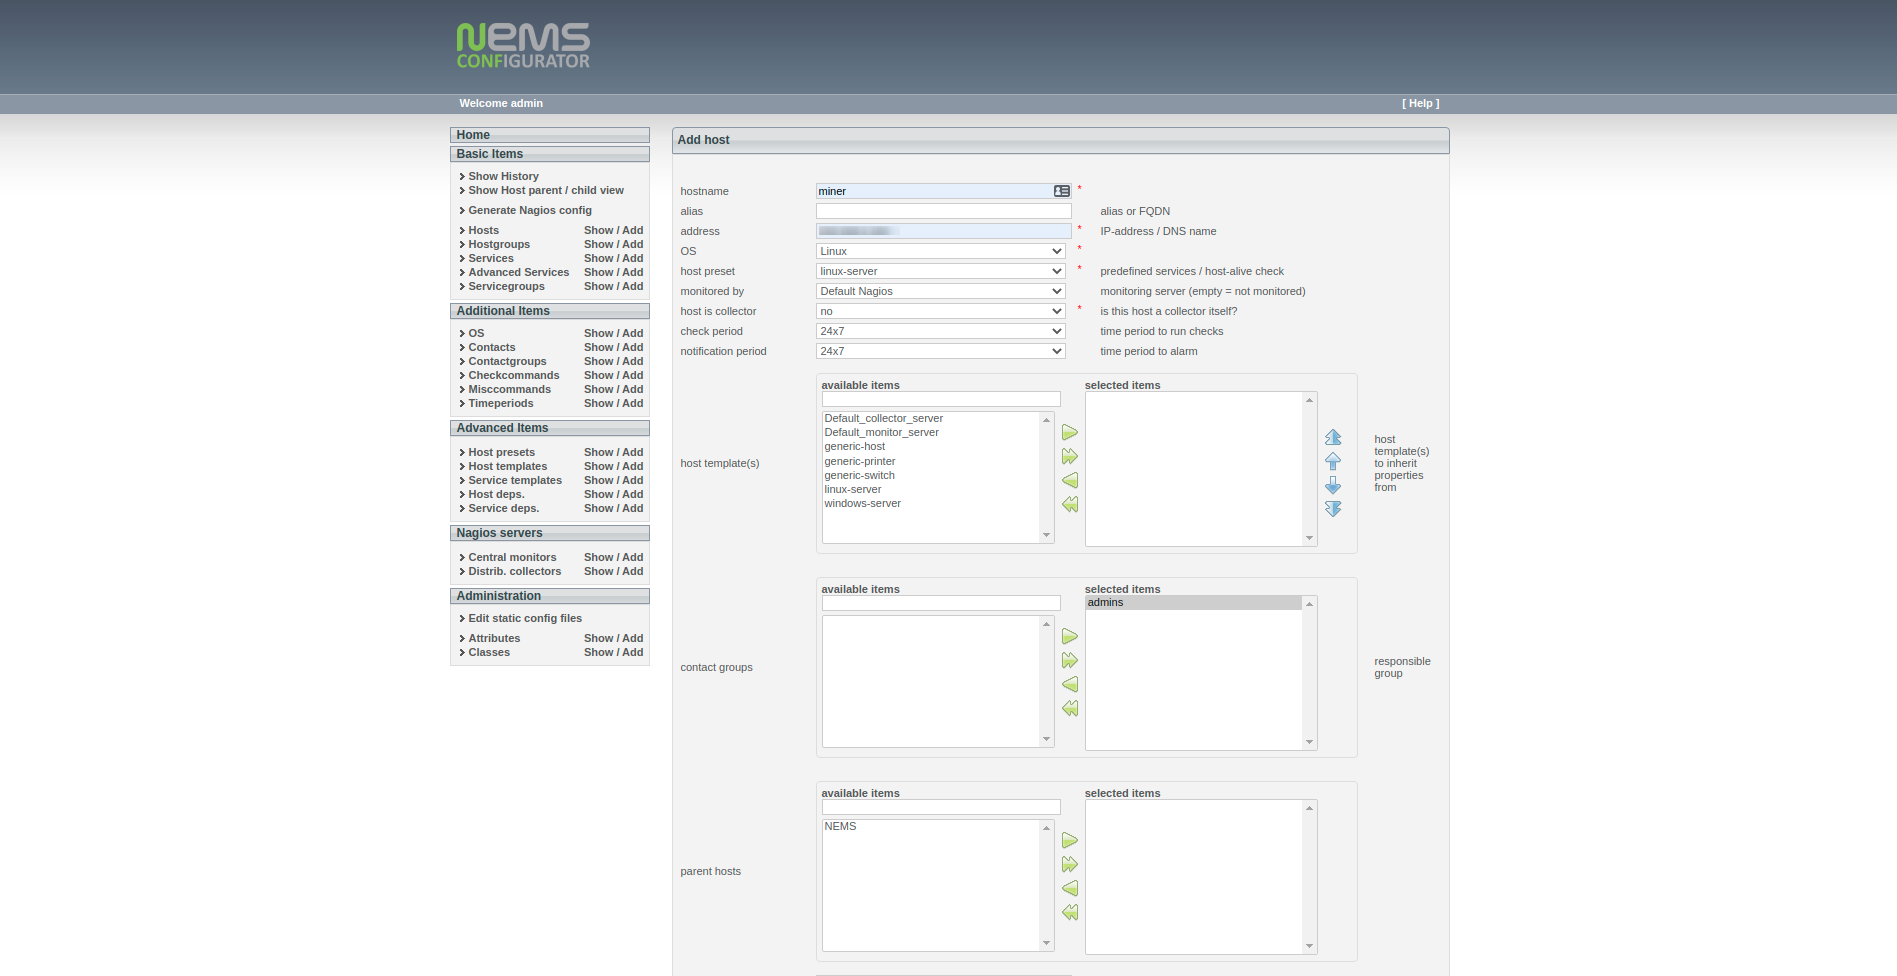
- For hostname, choose a name. Here I chose miner.
- For address, enter the IP address of the server or host you wish to monitor. (Note that giving that device a static IP address or an IP reservation in your router’s DHCP scope would be advisable here).
- For OS, choose the device’s OS. Here I chose Linux since that is what is running my miner.
- For host preset, I chose linux-server.
- For monitored by, choose Default Nagios.
- You can leave host as collector set to no
- For contact groups, move “admin” to the box on the right.
- For max check attempts, set to 5 (or whatever you prefer).
- For Check interval, I set to 60 seconds. You choose how often you want to check it.
- For retry interval, I set to 5.
- For first notification delay, I set to 5.
- For notification interval, I set to 90.
- For notification options, I set to d,u,r,f.
- For assign host to hostgroup, I chose linux-servers. Choose appropriately.
You can leave everything else as is. You can find the definitions of all of these options here.
Now we need to enable the configuration changes. Back on the main NConf page, click “Generate Nagios config” link:

You should get a screen indicating that there were no errors. Next click the “Deploy” button.

You should get a final screen indicating that everything went OK.

From the NEMS main page, go to the “Reporting” menu and select “NEMS Tactical Overview”. Your screen will look similar to this:

If you’ve added your new host correctly, you should see that NEMS is currently monitoring 2 hosts (the device you just added and the NEMS Pi itself). You’ll see that in my case there are already some warnings. The temperature warnings are because I currently do not have a temperature sensor connected to my Pi. I will disable those notifications since I don’t have one. The Internet Speed Test is due to the fact the the upload speed on my home network is below the configured default thresholds, which will need to be adjusted.
You can continue to add new servers or hosts in the same way. For each host added in this way, NEMS will monitor a number of things on each device. This includes whether the machine is reachable with a ping, the total number of processes running on the machine, whether port 22 (SSH) is open, whether port 80 (HTTP) is open, the number of users currently logged in and more. If you prefer to turn off some of these checks you can easily do so. For example I have no HTTP server running on my miner, so there is no reason to have this check running.
To see what services are being checked, click on the Reporting menu from the main screen and select “Adagios”. Then on the left side menu click on “Hosts”.

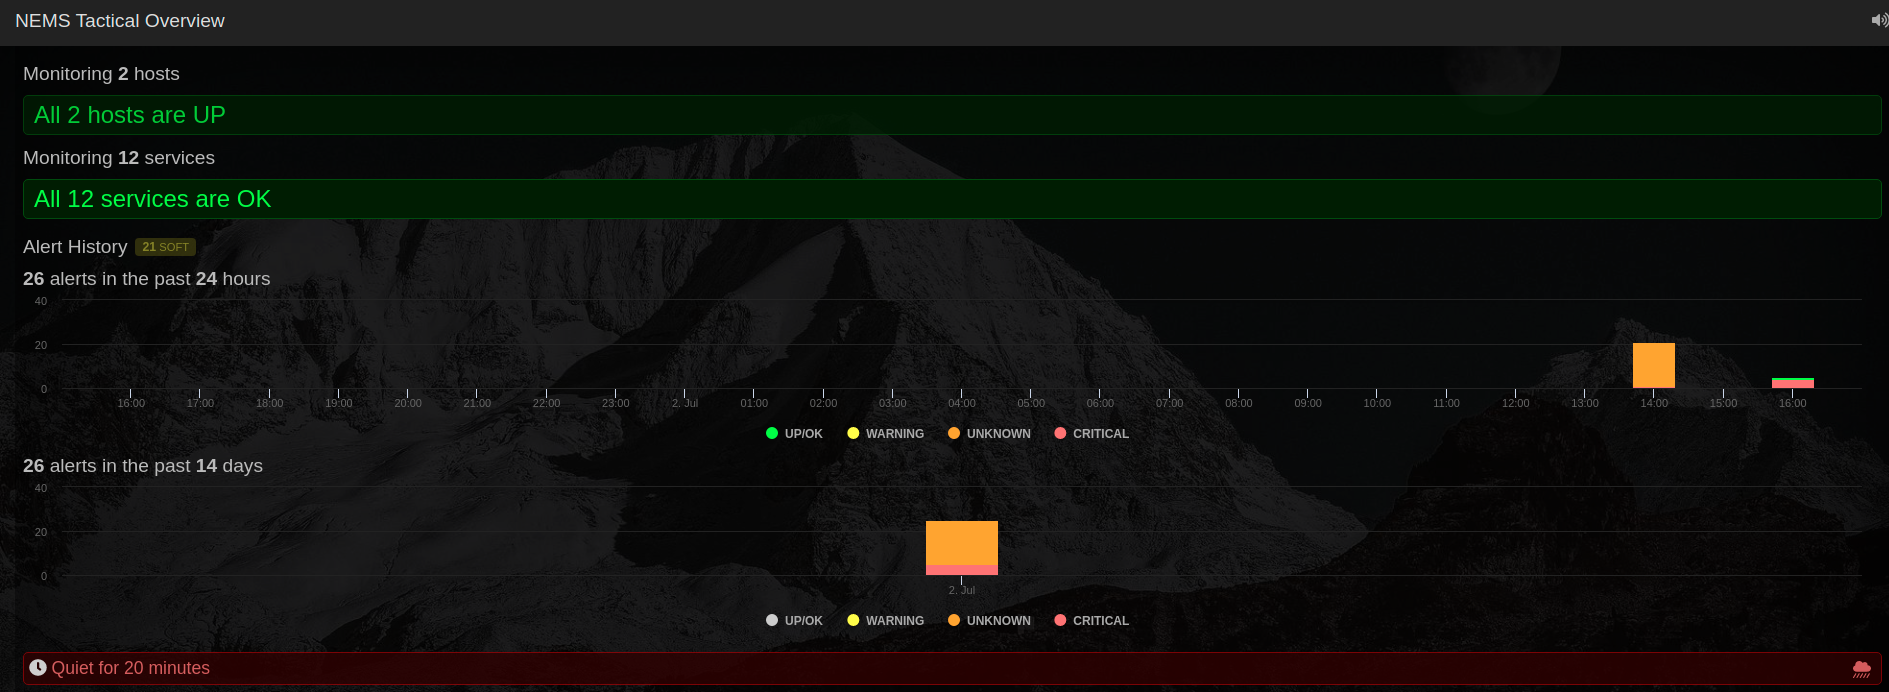
You should see both NEMS and your added device here, and by expanding them, it will display all the checks currently running against that machine. You can then use the NConf utility to remove some of these checks or add new ones as needed. After removing some of the unwanted check from my setup, my NagiosTV monitoring page is now quiet, showing that both hosts are up and that all services are OK.
Conclusion
I have only scratched the surface in this post. There are many more things that you can do with NEMS, one of which includes getting notifications via email or an app like Telegram when a service goes down. I’ll leave these things as an exercise to the reader. However, there is one other thing I wanted to do. In the introduction, I mentioned that I wanted to monitor a specific process on my miner and get a notification when it goes down. Doing so requires a bit more work, as we need to install some special software on the remote device that will allow NEMS to gather more complex information from that device. I will cover this in Part 2.